INGREDIENTS
Recipe for Rice Resist Paste
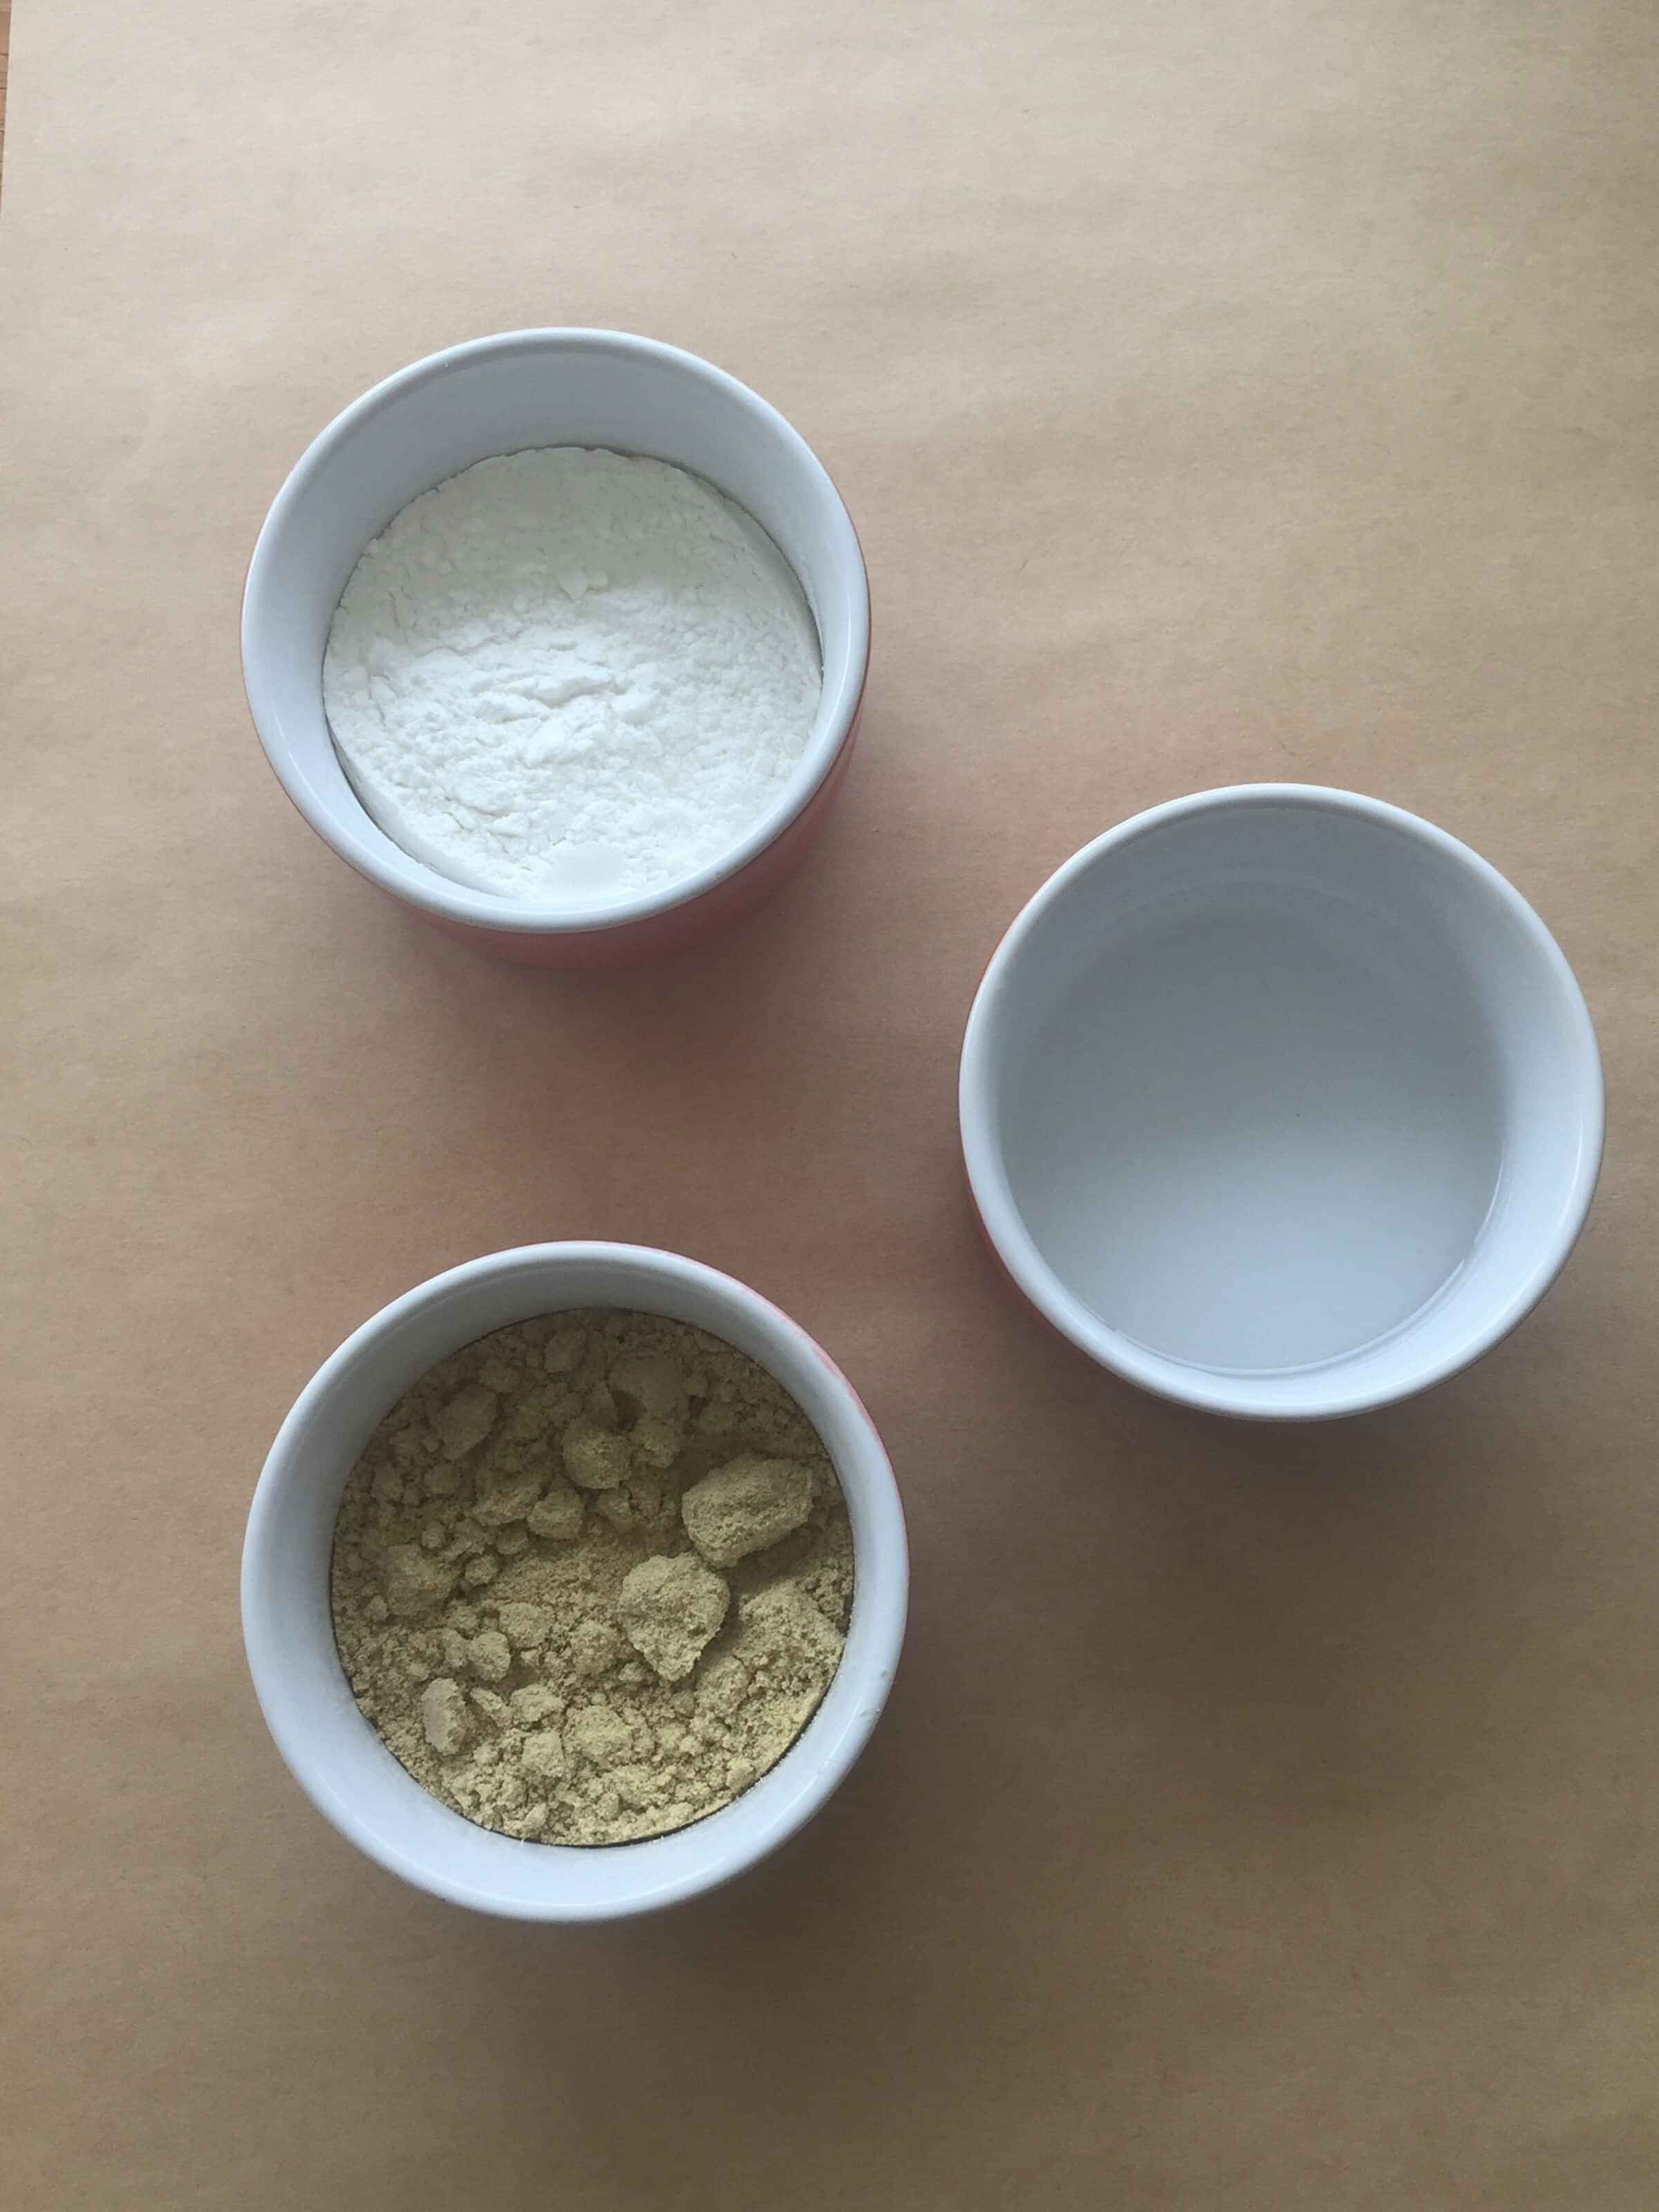
(Fine) Rice Bran Flour
Glutinous Rice Flour
Additional Tools
Steamer
Bowl
Stencil or paintbrush
Scraper
Tape & Newspaper
MAKING THE RICE PASTE
Rice Resist Paste
- Start with equal parts e.g. 1/4 Cup of rice bran, 1/4 cup glutinous rice flour, 1/4 cup of water
- Add equal parts : Rice Bran and Glutinous Rice Flour (approximately 1/4 cup) mix the two flours togethers.
- Add alittle water at a time.
- Mix with hands, add enough water so that the dough feels like earlobe.
- Divide the dough, and shape until doughnut forms (helps the rice paste steam quicker)
- Put the dough rings (ie. doughnuts) into a steamer, line the steamer with cheesecloth or cotton cloth. Steam for approx 30 to 40 mins
- Once steaming is complete, the dough will be darker and have the texture similar to a pork bun
- Add the dough to a bowl, add about 20% of the water and quickly mix with a hand blender until its smooth. You can also use a mortar and pestle
- if you want to preserve the dougn add approx 10% salt to the mix.
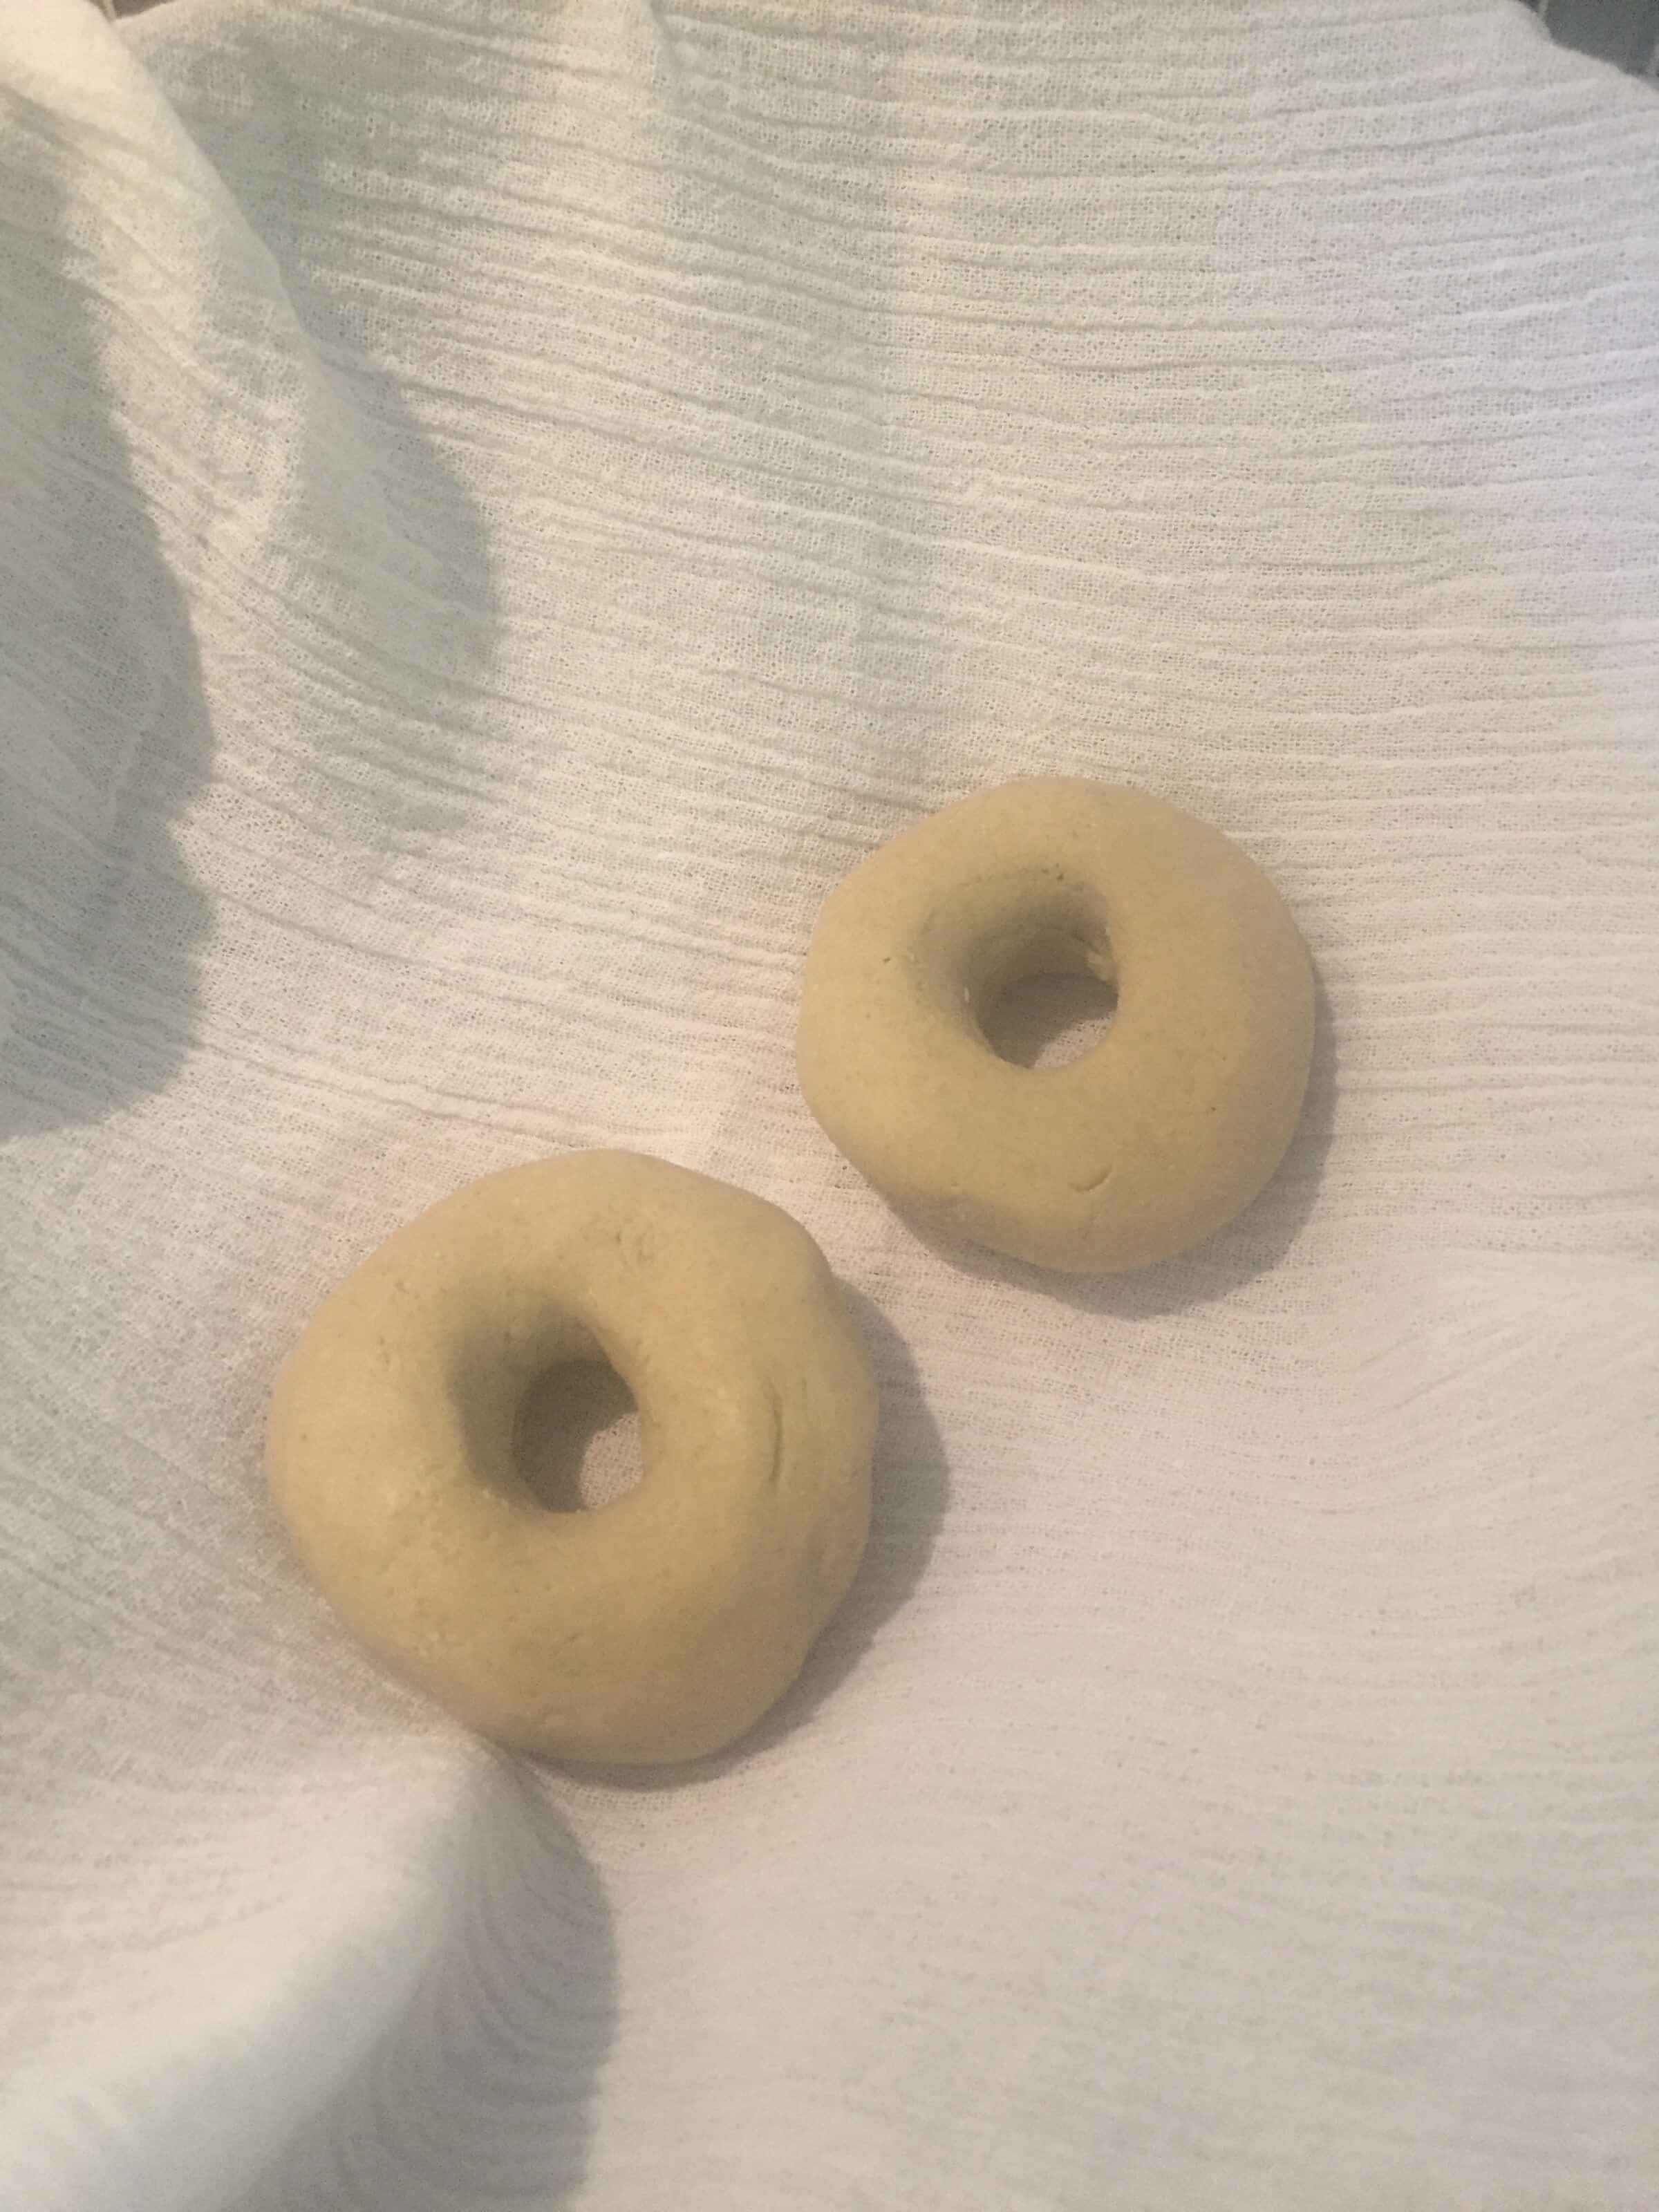
After streaming for 30-40 minutes. The doughnuts are upsidedown
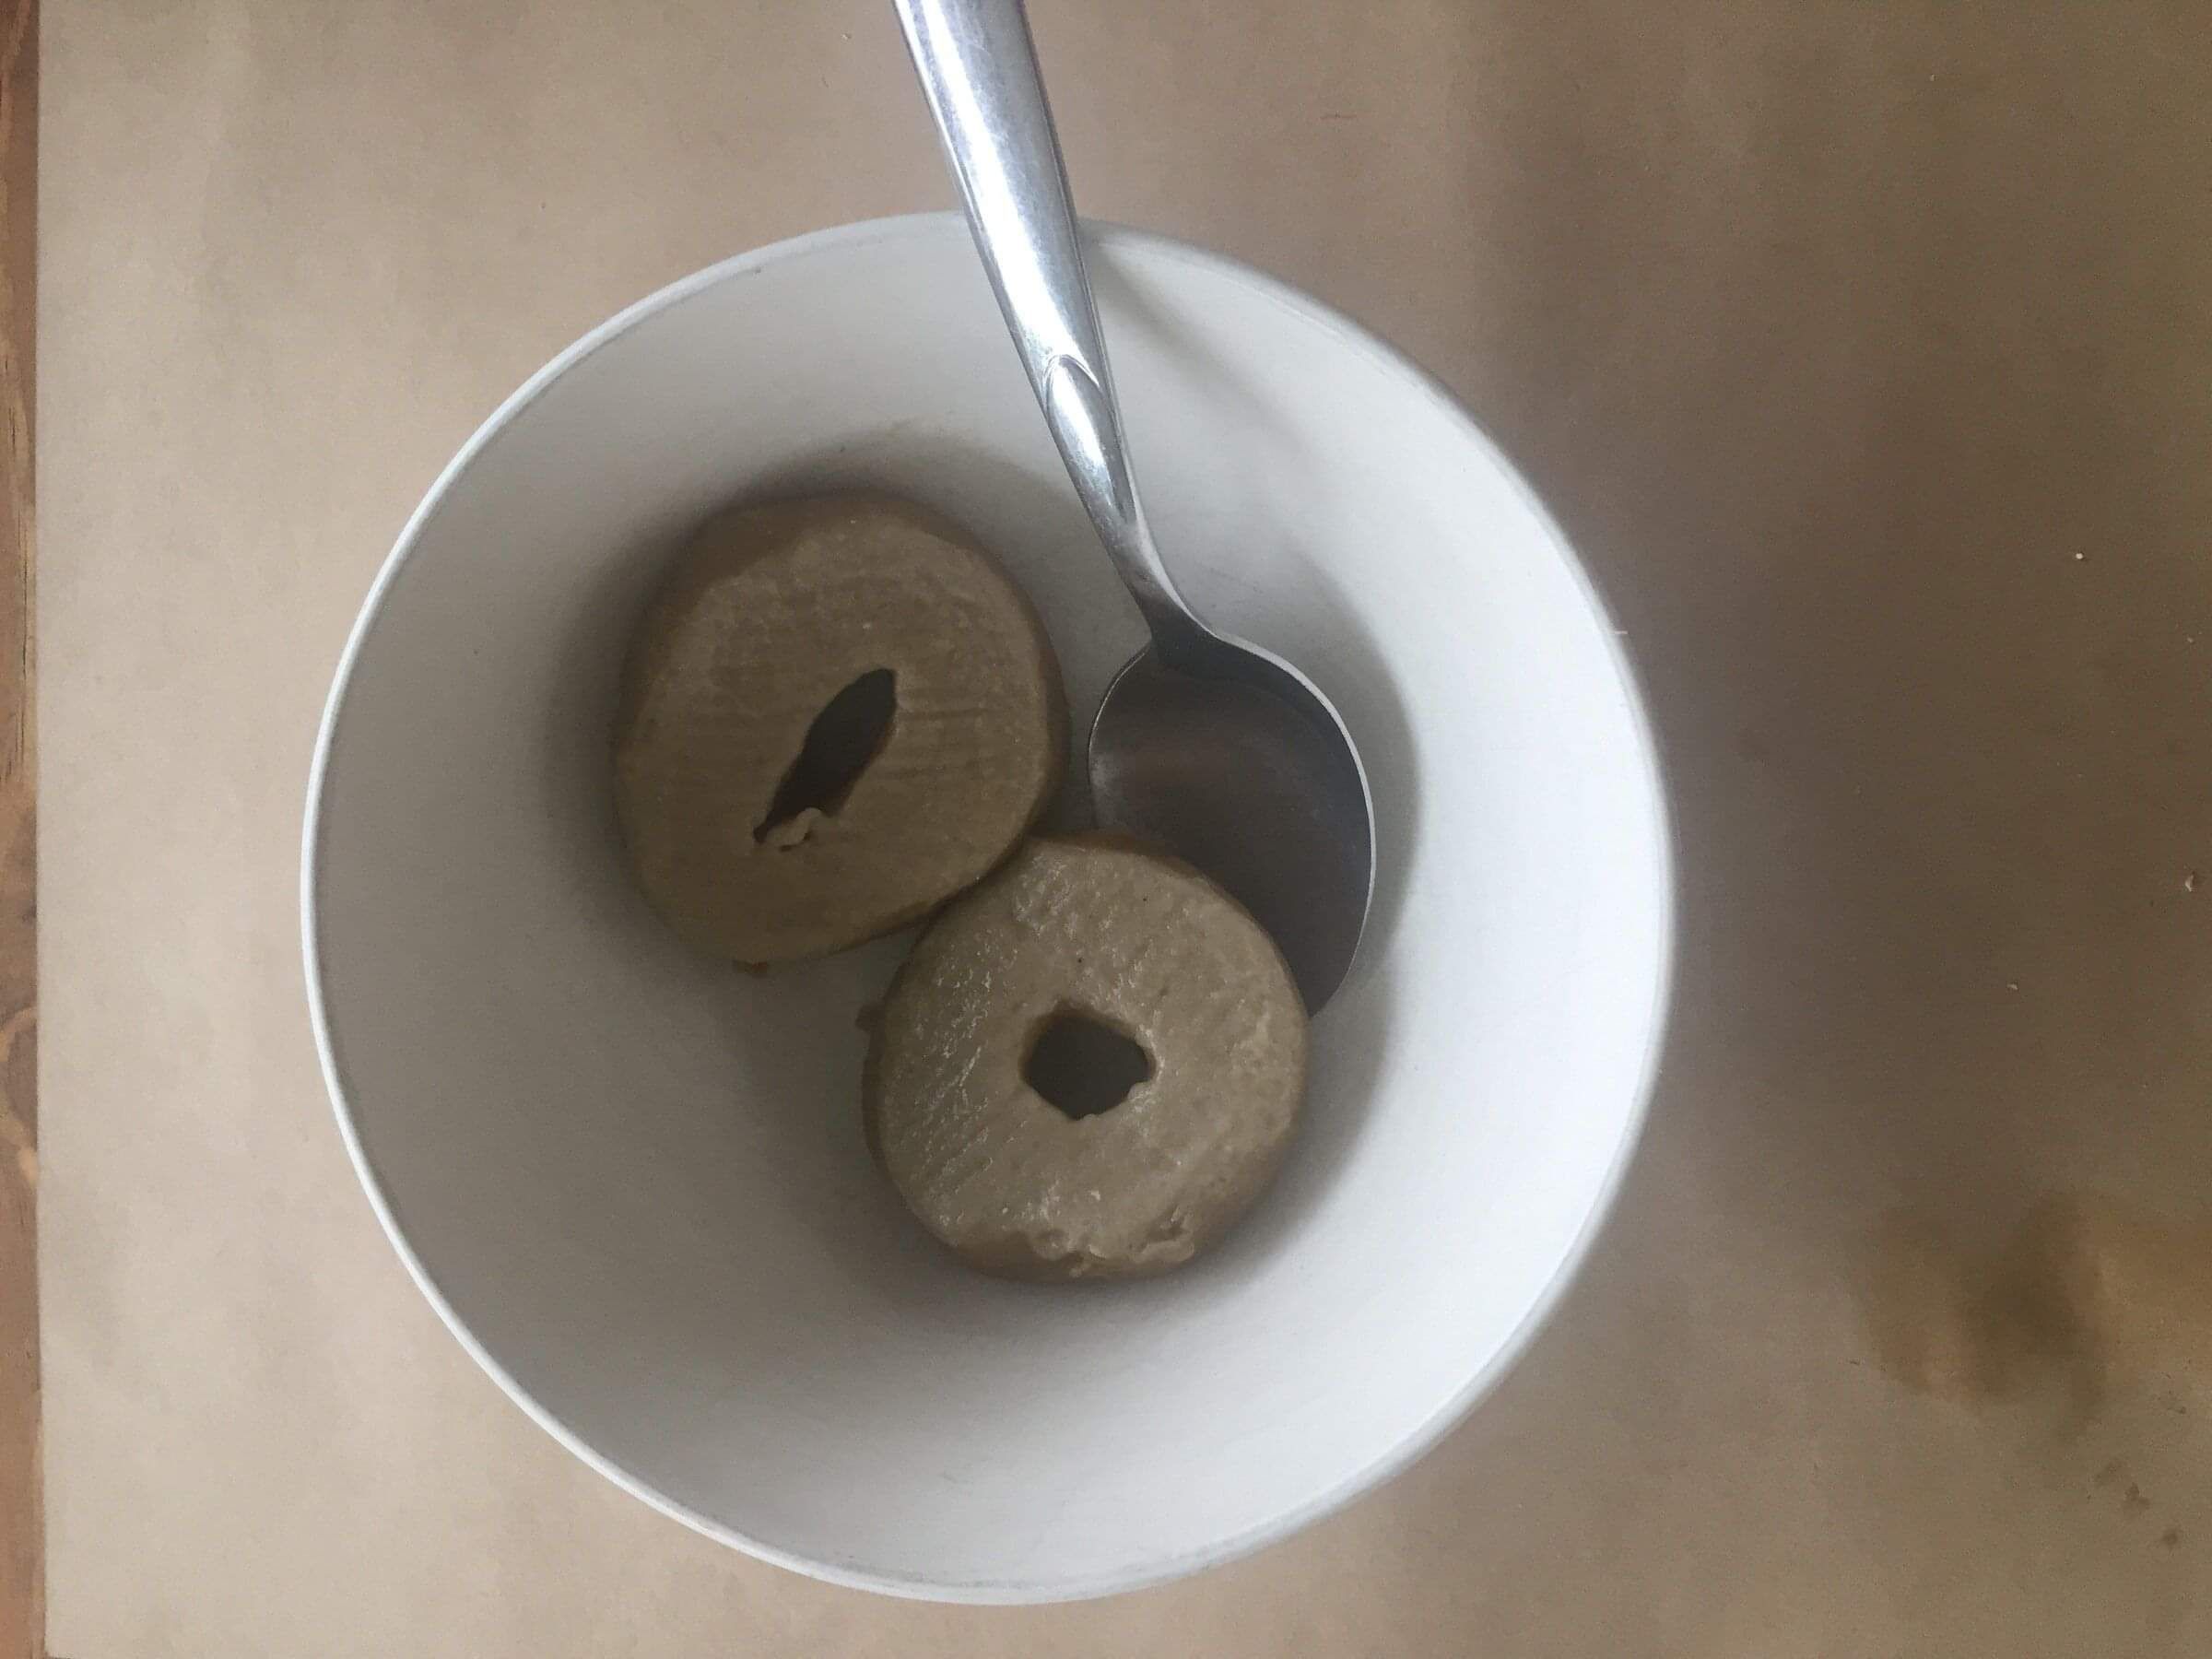
Applying the rice paste to the fabric
USING THE RICE RESIST PASTE
The rice paste should be sticky enough to hold the fabric. The rice paste will create natural barrier between the fabric and the dye. If your paste is too thin, the paste may run at the edges of the stencil (remove the lid from the rice paste to naturally dehydrate some of the liquid). If its too thick, its very sticky and hard to spread (add alittle water e.g. one teaspoon and mix again). There is significant range of paste structure, just play have a go.
You will need to stretch out your fabric before you apply the rice resist paste. You can use weighs or place pins at the surfaces of the fabric.
APPLYING THE RICE RESIST PASTE
You can apply the rice resist paste to the fabric by
- Using a handmade stencil
- Using a purchased stencil
- Using a silk screen (i.e. screenprinting screen)
- Handpaint the resist paste
Katazome provides the apply to repeat patterns using printmaking techniques
You may need to create a border (with tape or paper) to stop the paste from going over the edges of the stencil.
Be firm (hold the fabric if not pinned down) when removing the stencil
The dyeing process
Once the rice paste has fully dried, the fabric is able to be dyed
Wet the fabric prior to dyeing, in water that is approximately the same temperature as the vat. Don’t attempt to crush the rice paste on the fabric. Additionally, if the fabric is long, fold the fabric with the rice paste on the outside. The dyeing process is a gentle process.
Place the fabric gently into the vat and submerge the fabric under the water of the vat. Again if it’s a long fabric fold the fabric with the rice paste on the outside. Tentatively move the fabric around under the water with as little as possible drama to the surface of the vat as possible. One example we use is a duck on the surface of the water their legs are moving, yet the surface is calm, under the water is where the action is happening. For light weight fabrics e.g. light weight silks and cotton the fabric need only be in the water for approx 45 seconds. For heavier fabrics (eg. Linens, heavier cottons etc) you can submerge approx. 1.5 minutes.
Remove the fabric from the vat. The fabric will be green, oxidisation will start to occur changing the green colours of the fabric to the indigo blues. Remove any bronze or air bubbles of dye from the surface of the fabric with gentle fingers (without damaging any rice paste). If this is not removed it will cause the dye to oxidation on the surface of the fabric, the dye will not bond with the fabric. You can hold the fabric whilst the oxidisation process occurs or place it on grass. Don’t bunch the fabric together.
Once the green shades of the dye have moved to indigo blues, you can gently rinse the fabric to stop oxidation on the surface of the rice paste. You can re-dip the fabric if the rice paste has maintained a strong bond with the fabric. We don’t recommend re-dipping light weight fabrics, if you do only for a brief period e.g. 20-30 seconds. Light weight fabrics are a bit of a balancing act between getting the darker indigo shades and over dyeing the rice paste. For heavier fabrics you can re-dip a couple of times for around 30 seconds each. REMEMBER TO GENTLY RINSE THE DYE OFF THE SURFACE OF YOUR RICE PASTE BETWEEN DIPS, TO ENSURE THE RICE PASTE DOES NOT ALLOW THE DYE TO CHANGE THE COLOUR OF YOUR WHITE RESIST IMAGE.
When you are happy with the indigo shade, you can wash the rice paste off. You need to be firm when rinse the rice paste off. However, you don’t need to scrub the paste off, it will come off once its wet.
Rince your fabric until the water runs clear (we dont recommend close enough, we only recommend 100% clear water). Then wash the fabric separately with gentle clothes washing detergent. Dry the fabric in the shade. The dye is now set. All future washing cycles can be with non-white clothes on a gentle, warm (not hot) cycle, with shade drying.
Recommendations
Dye one item at a time to ensure that you are aware of all the changes to the fabric, rice paste and the oxidation process.
For pre-made items like pillowcases and bags once dipped into the vat, outside of the dye vat hold the item open with your hands so that layers of fabric are separated. It’s a little awkward, nevertheless it’s the best method to ensure that the fabric layers ‘breathes' for a more even dyeing process
