INGREDIENTS
Recipe for dyeing 500g fabric
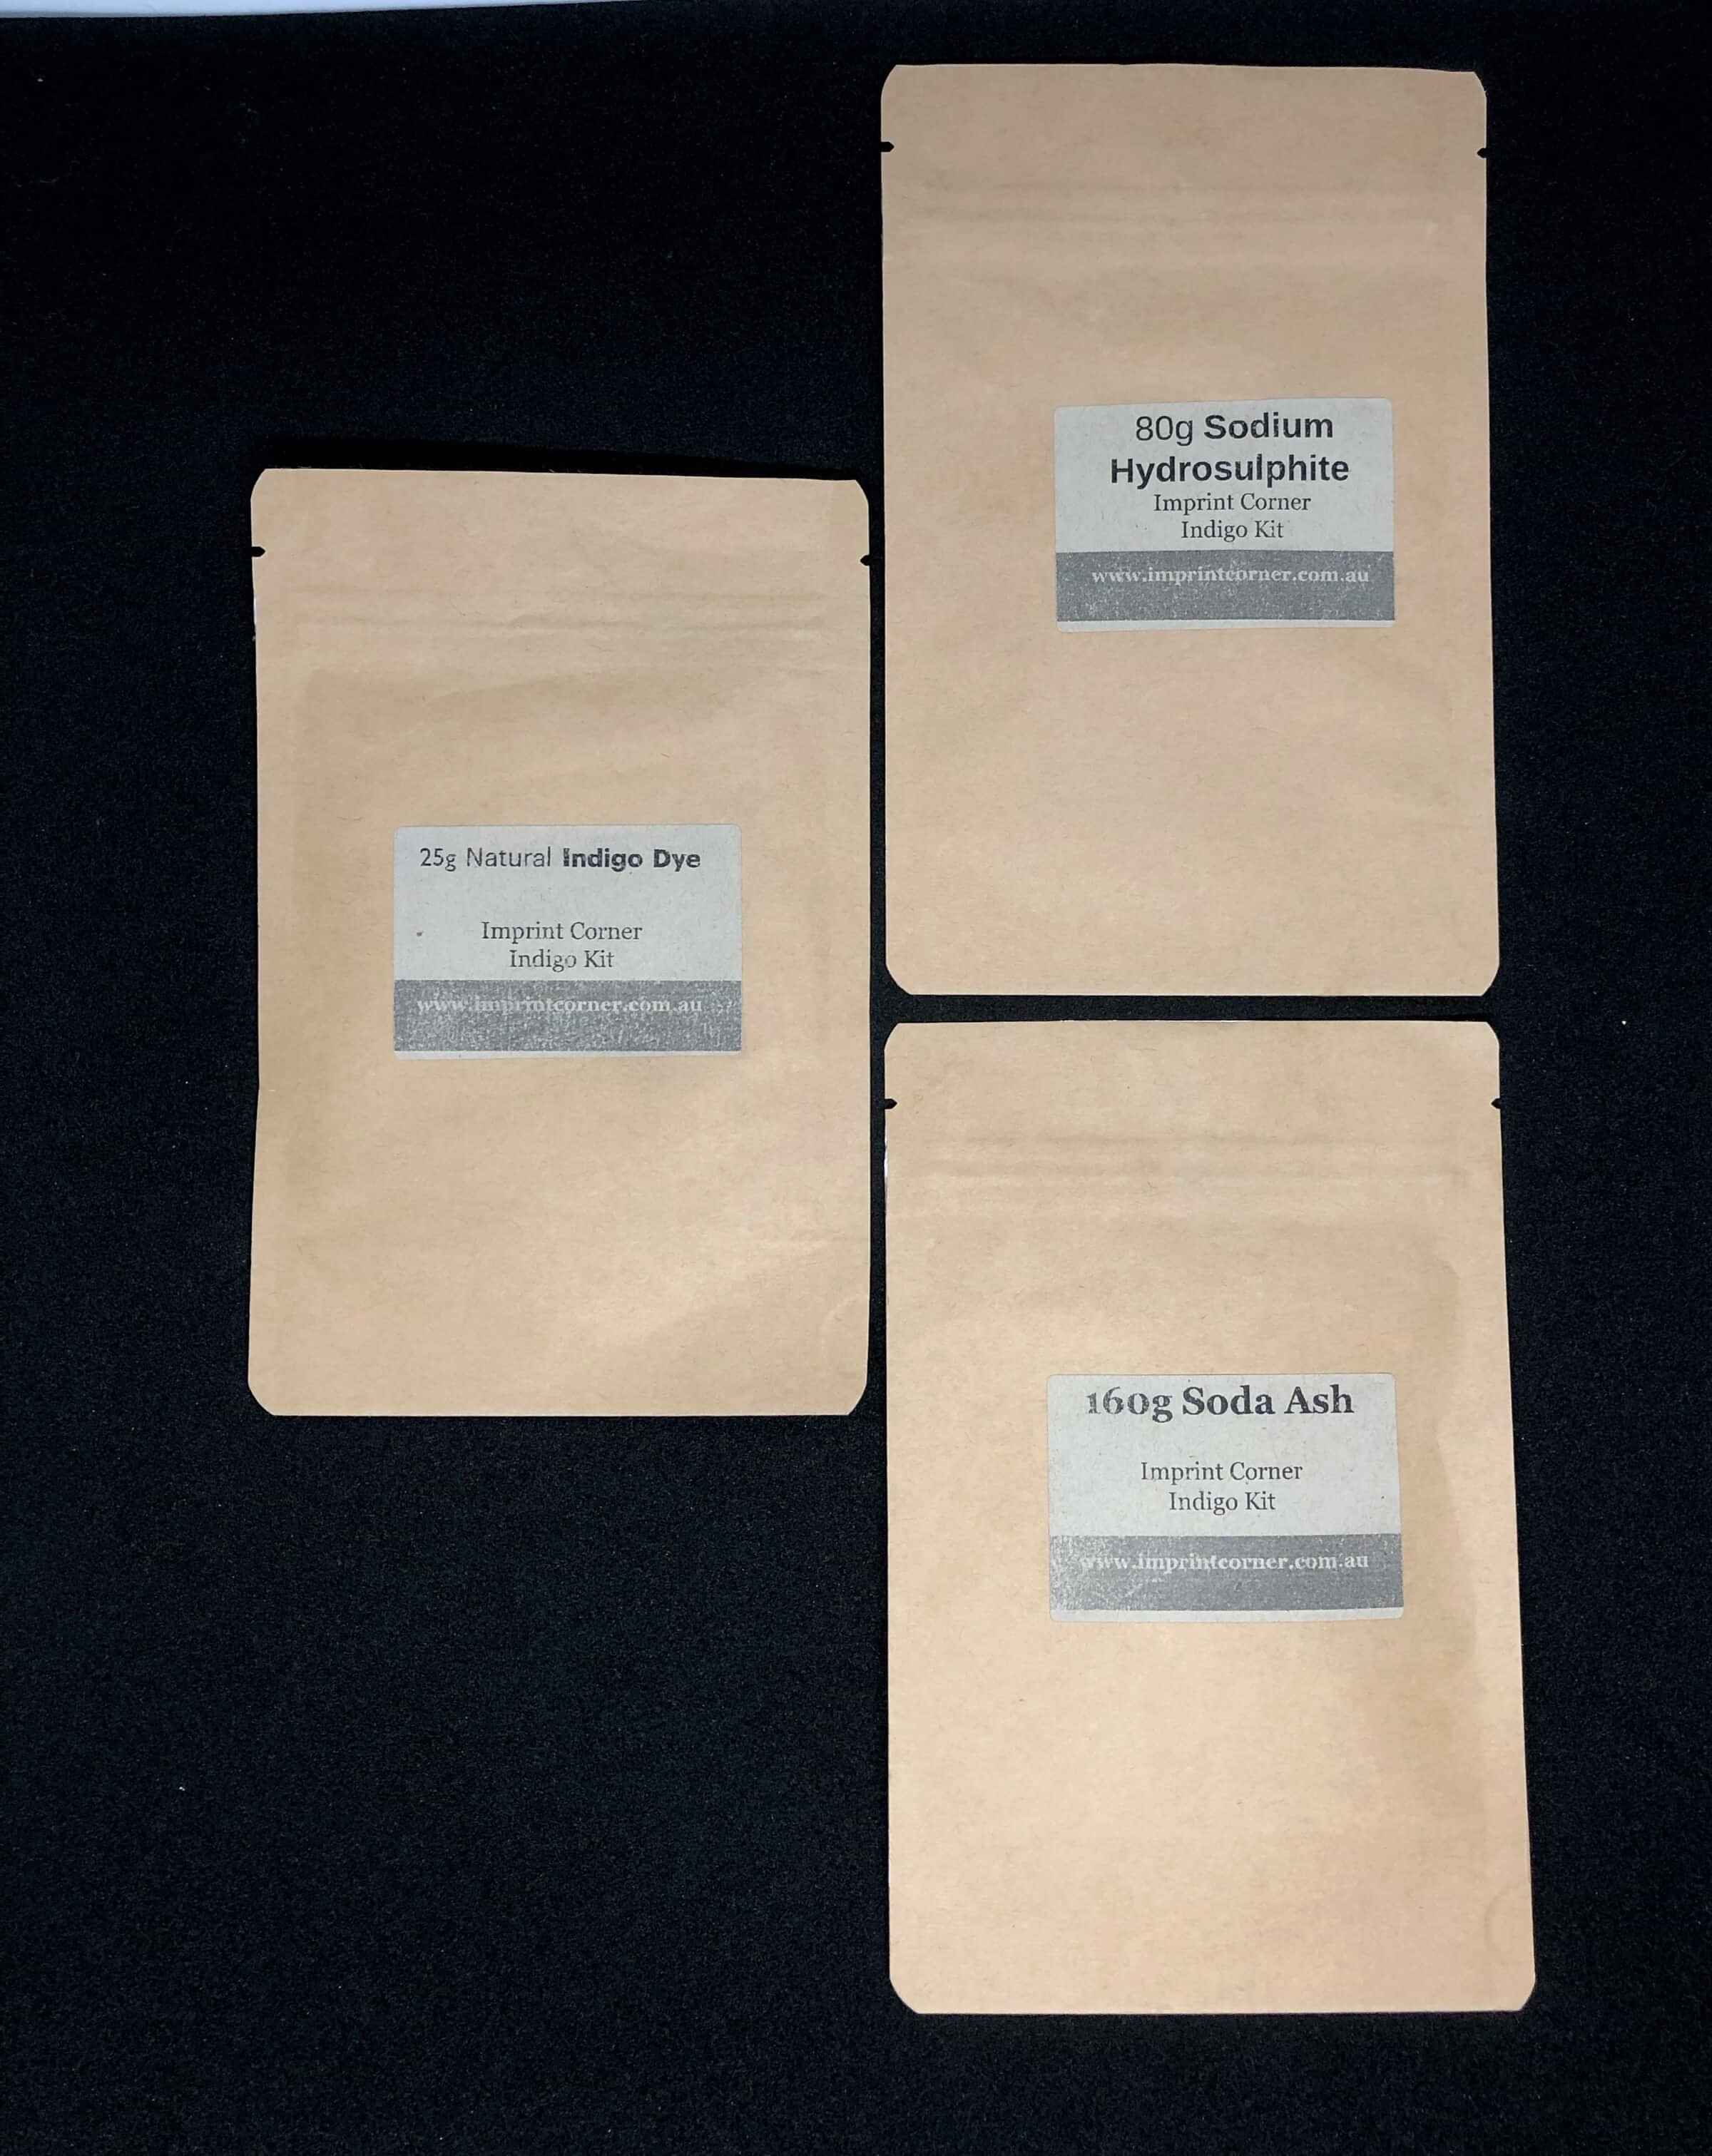
- 20-25gms Natural Indigo (or 15gms Synthetic Indigo)
- 160gms Soda Ash
- 80 gms 25% Sodium Hydrosulphite
Additional Tools (only use these tools for dyeing, not for food)
- 9-10 litre buckets (one with lid)
- rubber gloves
- long wooden stick/spoon for stirring
- drop cloth
STARTING/CREATING the INDIGO VAT
Prepare the Indigo/Soda Ash Solution
- Carefully dissolve Soda Ash in 500-600mls of boiling water
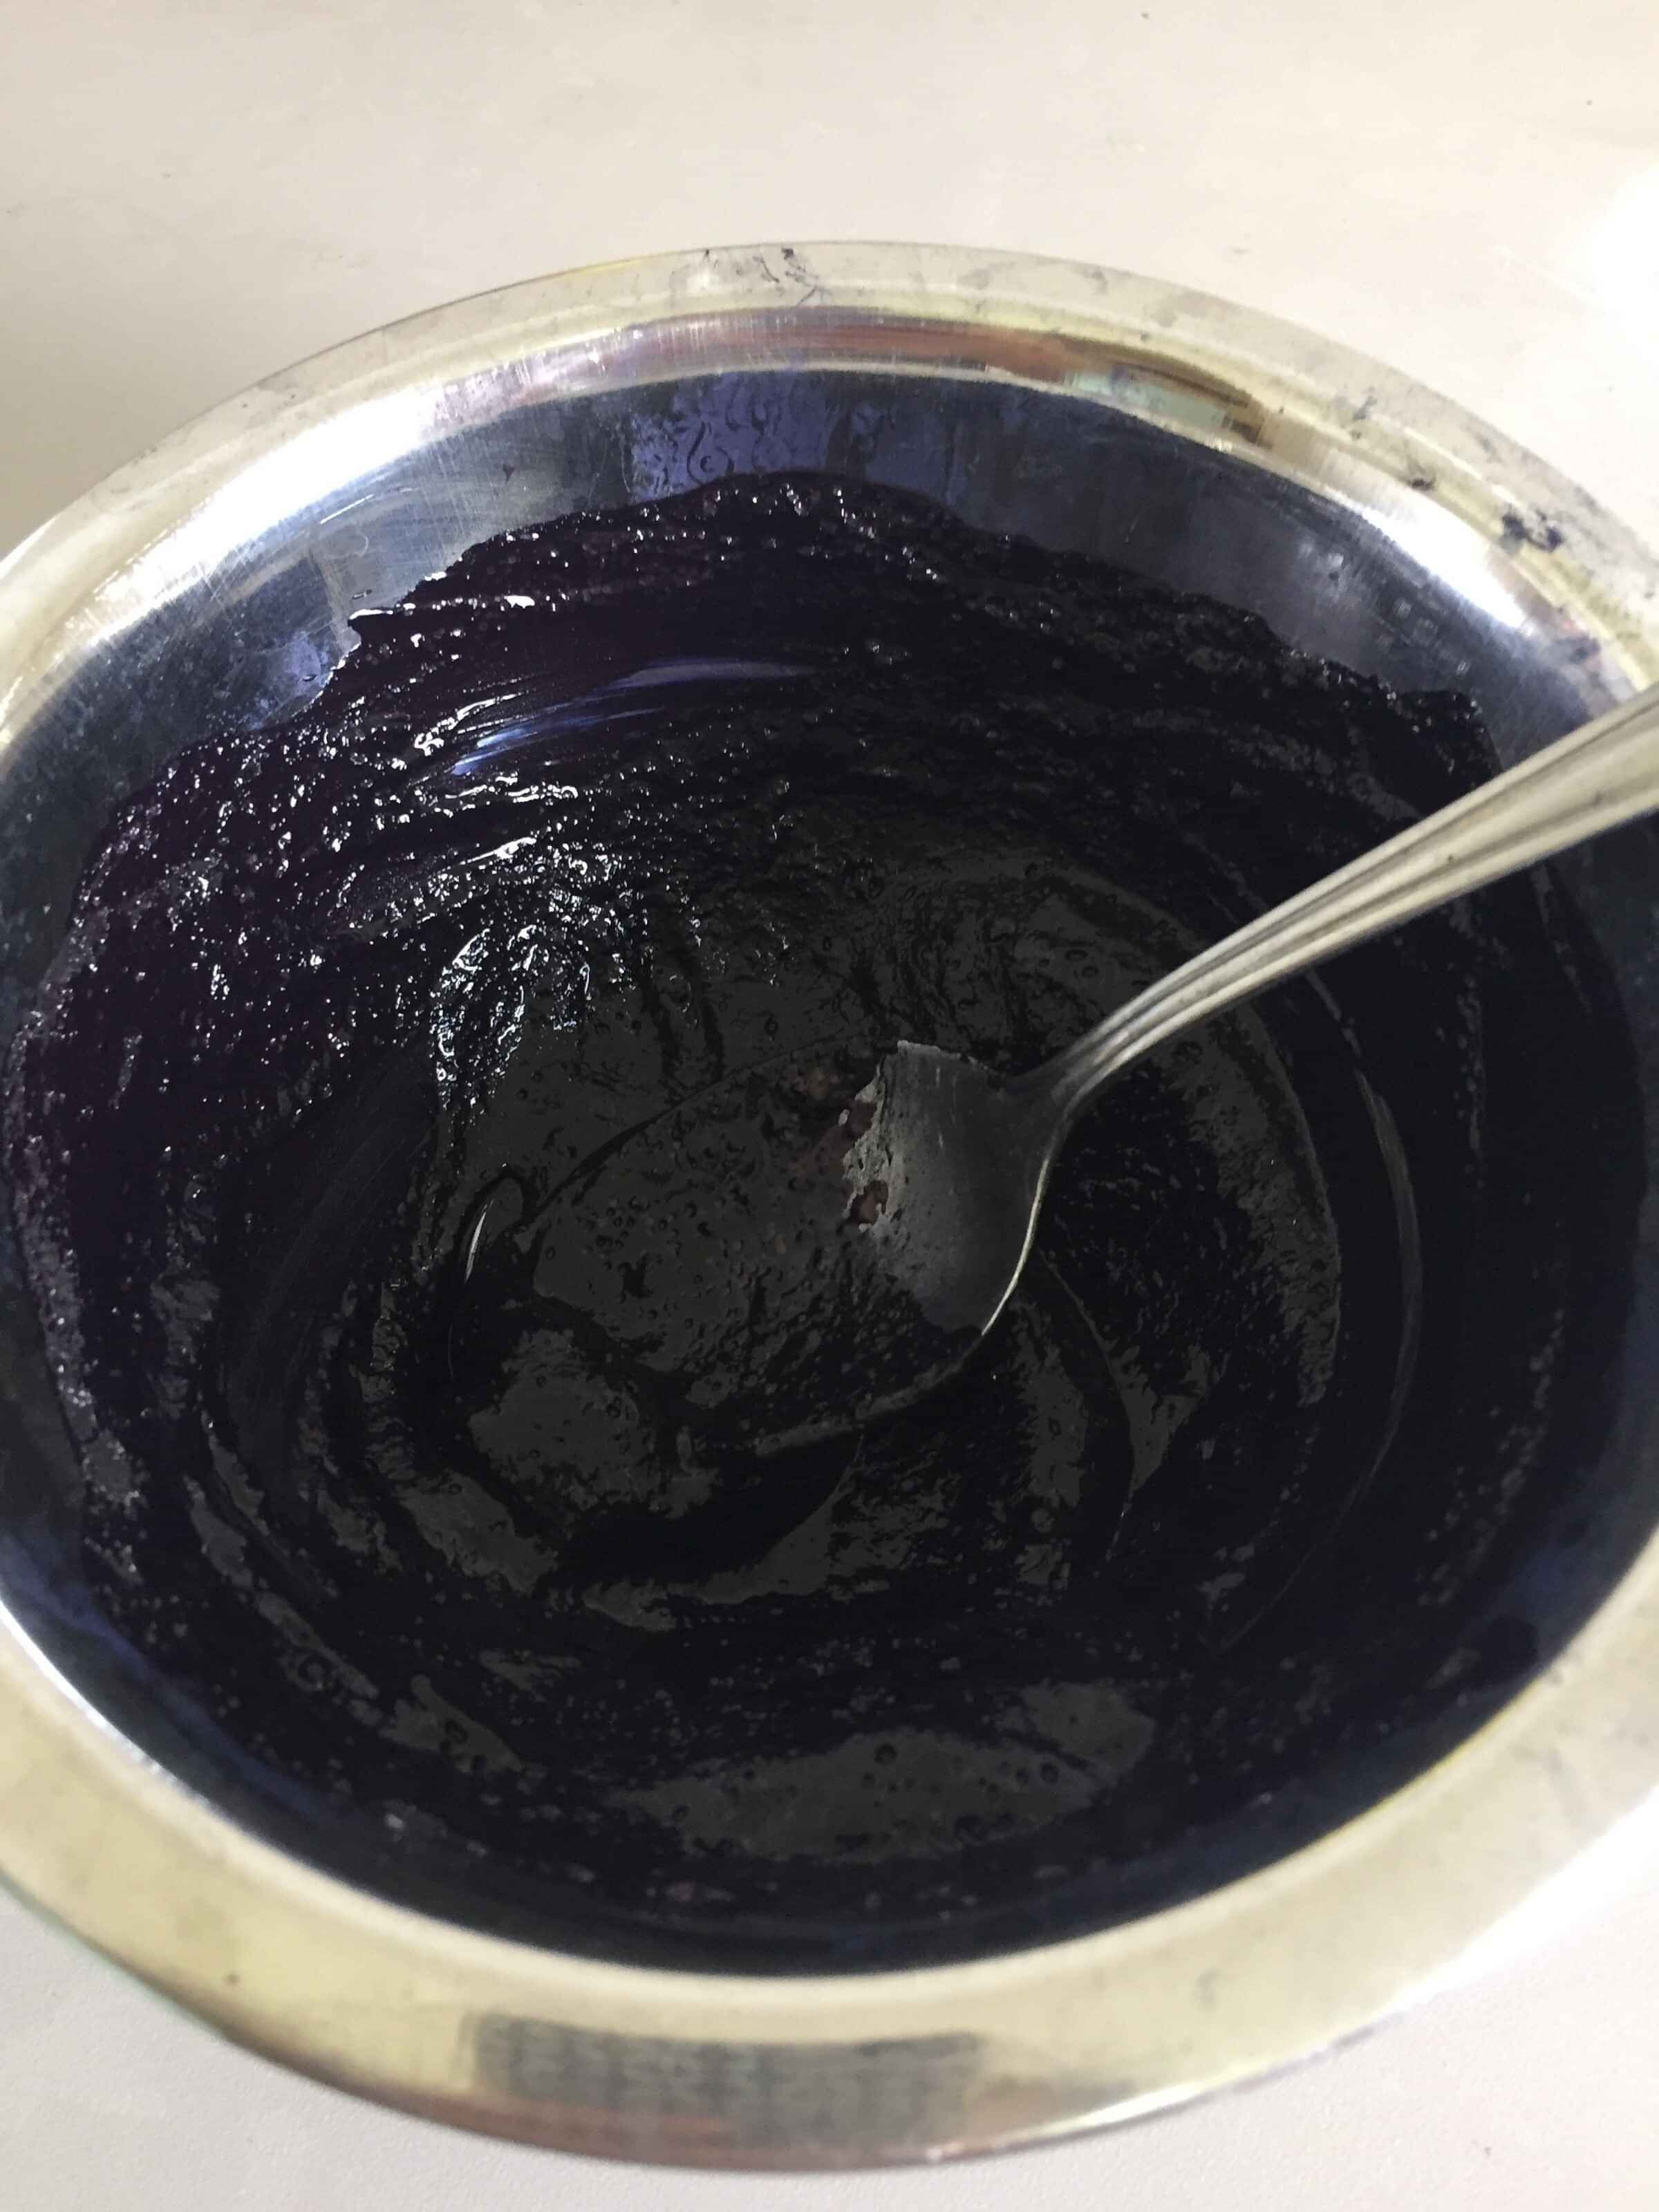
- Dissolve the Indigo powder in little hot water, Make a paste
- Slowly add the indigo dye to the Soda Ash solution and make sure they are thoroughly mixed. (This solution is strongly alkaline: Avoid getting solution on your skin.) Note: by applying the reducing agent which does the opposite to the oxidizing effect
Prepare the dyebath
- Prepare the dyebath with approx 6 litres of hot water. Aim for a temperature of 50C
- Stir Dye/Soda Ash solution gently into dyebath.
- Sprinkle 80gms Sodium Hydrosulphite over the surface of the vat, stir gently, cover and let it stand until the dye is completely vatted out. By covering the dyebath, you avoid too much oxidisation.
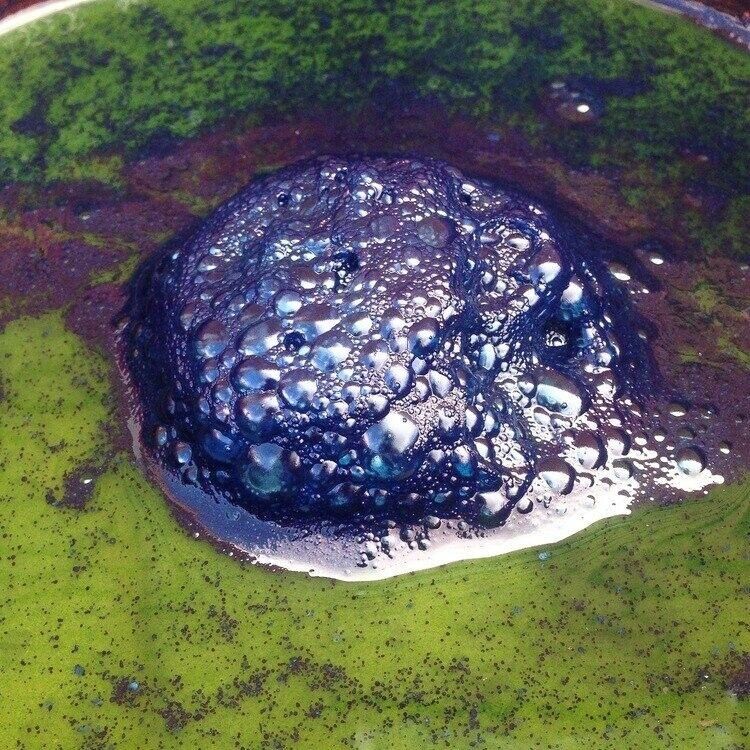
When the dyebath is ready to use, it should be a clear greenish yellow colour and have bronzy bubbles on the surface. If the dyebath is till blue and cloudy, the dye is not dissolved properly and you will need to add a little more Hydrosulphite.
Note :The indigo flower at the centre of the vat. Basically the oxygen leaving the oxygen
DYEING THE FABRIC
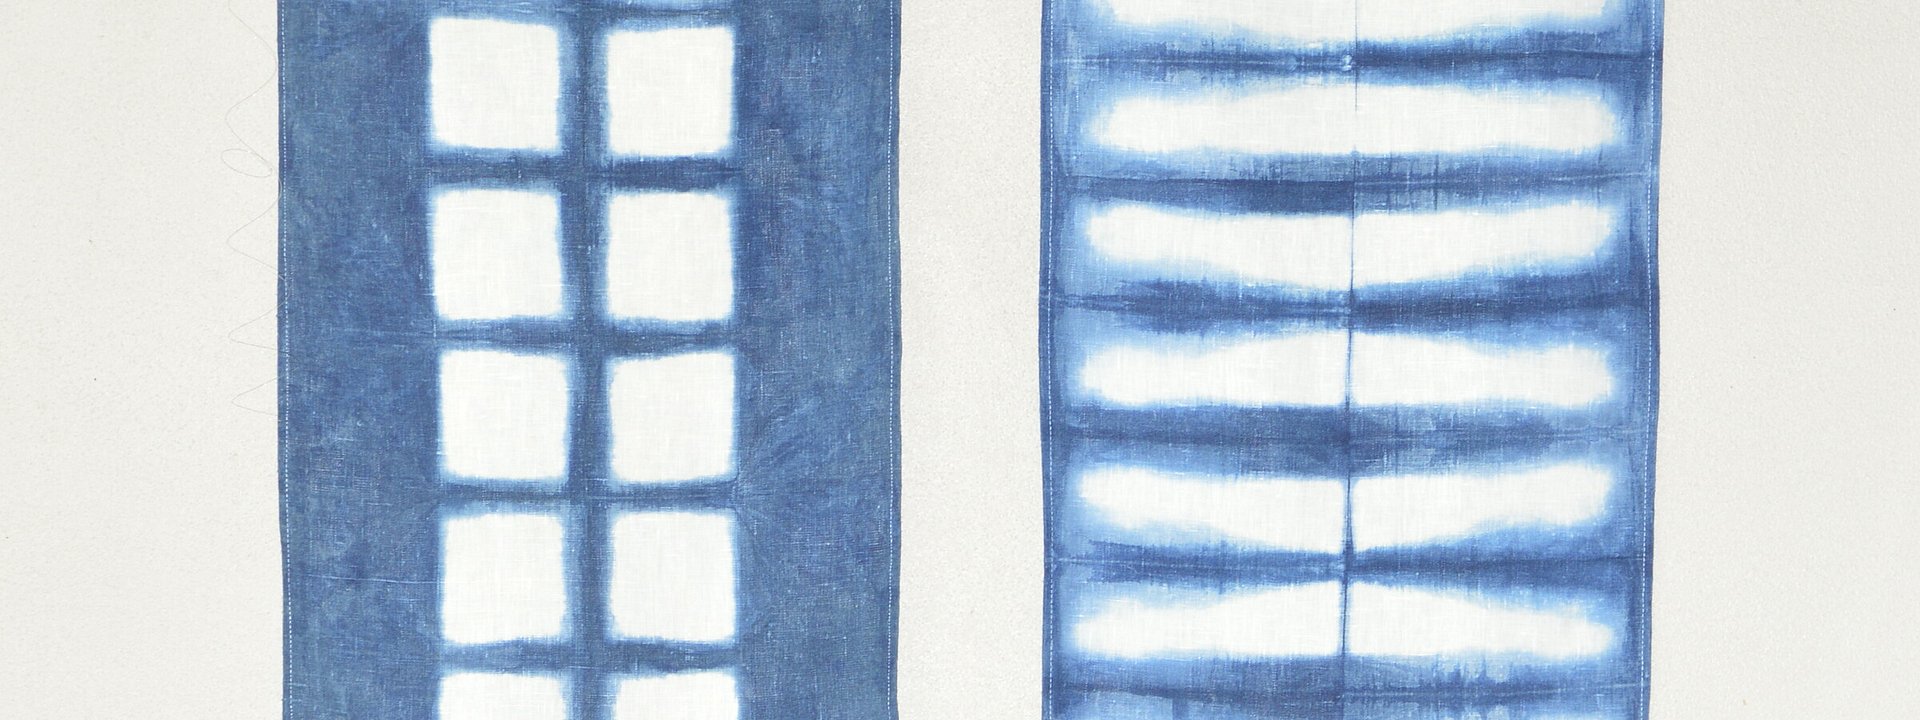
Before dyeing the fabric, make sure the Indigo is completely ‘reduced’ by dipping a sample of the fabric or paper into the vat. It should come out of the dye bath greenish yellow and then turn blue when exposed to the air. The oxidization turns the fabric from green/yellow to blue. No additional mordent is required to bond the dye.
Try to keep the vat at 50c, lower the fabric into the dye bath and leave it there for 2mins. Remove from the dyebath, squeeze out excess dye and allow it to OXIDISE. To darken the shade re-dip the dyeing for a further 2 minutes or leave it longer. Check your dyebath to make sure it is still in solution and if you notice it’s going greenish/blue, sprinkle a little more Hydros on the surface to keep it vatted out. Avoid the ‘flower’ bubbles, these will leave blotches on your fabric. After you have oxidised your fabric and you’re happy with the colour, wash well in hot soapy water to remove excess dye and chemicals.
- The intensity of the blue depends on the number of dips.
- You must allow the oxidise between dips
- Remove existing dye into a second container
- Between dips; rinse until the water is clear
Tips for dyeing;
- Bubbles on the surface of the vat means the vat is activated
- Carefully dip the fabrics into the vat (to reduce the drama on the surface of the vat, limiting oxygen)
- Gently remove fabric from vat
- Gently remove dye from the fabric
- Use wet fabric before dipping
- Initially your vat will produce darker blue >> over time, more fabric reduced dyeing pigment
- Colour changes from the vat in oxygen > Yellow/Green to Teal to Blue
- You can redip the fabric for darker colour
- You can leave overnight before rinsing for a stronger colour
- Lightweight fabrics are easier to dye
- Only use natural fibres
FABRICS
When choosing fabric or clothing, it’s important that made of natural fibres. Cotton, wool, silk, hemp or linen work best. Lightweight is best. I also like to pre-wash my fabric before dyeing. Additionally I like to soak the fabric prior to dyeing.
MAINTAINING AN INDIGO VAT
If you feel there is still unused dye left in the dyebath after you have finished doing your INDIGO dyeing – you can save this and revitalise it by adding more chemicals next time you use it. Remember that the dyebath needs to be a clear greenish yellow to be viable and if it has stood for any length of time, the dye will have reverted to its insoluble state. Covering the dyebath while it isn’t in use will help keep the dye in solution, but before you reuse it, test the bath with some white paper to determine if it needs to be re energised.
If the solution is clear and green you may not need to add anything but it will be most likely you need to add more Soda Ash and Hydros.
Dissolve 75gms Soda Ash in boiling water and add this to the dyebath, then sprinkle 40gms Hydros onto the surface of the dyebath and stir gently until it vats out.
You may also need to heat the dyebath to 60c for this process to be successful. You can do this by adding boiling water to the vat or by using a heat source like an element. Dye technology is complex and while we attempt to simplify our methods as much as possible, results may vary depending on the Indigo you’ve used, the ambient temperature and the temperature of the dyebath. Quality and age of chemicals can also be a factor in the success of your dyeing
OXIDATION
Oxygen bonds the colour similar to an apple turning brown with oxygen
Molecules of dye, oxidized it turns blue
Indigo likes alkaline, we use soda ash as dyeing medium. We reduce the oxygen using sodium hydrosulphite.
Note the green colour which slowly moves to towards blue
FAQ
How many times do I have to dip to get a super dark indigo?!
Earlier dips (new vat) are as short as 20 seconds, while the later dips lasted as long as 10 minutes. You can create an gradient of indigo colour
SAFETY CONSIDERATION
- Handle all components of the indigo kit with care as may irritant.
- Protect yourself by using spectacles, gloves, apron and a face mask when handling dye and dyeing components. Avoid skin contact and accidental ingestion or inhalation.
- Work in a well ventilated room, away from food preparation areas, children and pets.
- Store indigio kit safely in clearly labelled containers and out of reach of children and pets.